Last night, for the first time since I was 10, I dyed Easter eggs. I don’t know about you but as a kid I remember being so excited when my Mom helped us make beautiful pink, green, yellow and blue eggs. As a grown up it really isn’t as exciting so you look for other ways to make fun and creative designs.
Several months ago, while on Pinterest, I discovered this fun way of creating marbled nail polish. I pinned the picture and even watched these fun YouTube video’s here and here. Due to my impatience when it comes to painting my nails, I had yet to attempt this idea of DIY marbled nails.
Last night as we were starting to dye our eggs, I had what I thought was a genius idea. Why not try this marbled nail technique on the eggs. Now let me be honest. In my group of friends, I’m known for my large number or Pinterest fails or Pinstrosities as my friend JP likes to refer to them. But you know what? It worked! Between my friends and I, I honestly don’t know who has more surprised.
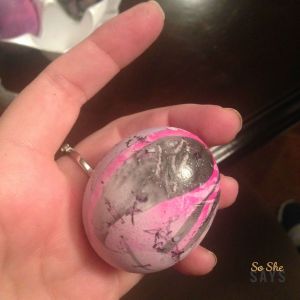
For my first try, I created this egg by dying it a light purple and then marbled it with pink and black nail polish.
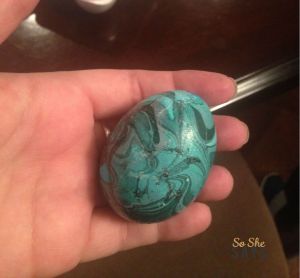
I then dyed this egg blue and marbled it with black and grey. It turned out to be my favorite of the night!
If you’re interested in trying out this technique, I highly suggest checking out the YouTube links above. They’ll give you all the information needed to make these fun and creative designs that can be transitioned into very unique Easter eggs!.
Word to the wise. I started using a styrofoam cup but dropped the polish from too high of a distance and it sank to the bottom. Several minutes later a minor flood started to appear under the cup due to the polish eating through the styrofoam. I think switched to a plastic bowl which proved to be a much smarter option.
Happy Easter!


Cool idea! They look awesome!
LikeLiked by 1 person
Beautiful eggs! No pinstrosities here! Lol
LikeLiked by 1 person